This guide explains how to setup Google AdSense ads on your blog with Easy AdSense Ads Plugin. EAA is the best and completely FREE Ad Management plugin on the WordPress repository.
- EAA integrates right into the WordPress customizer to give you an instant preview of your changes.
- Lets you disable ads on a per page/post basis, for those cases where your content might violate ad network TOS.
- No upsells are locked features. Everything is free, and we hope to keep it that way.
- Separate content/ads for mobile, tablet and desktops.
- AMP support
- Ads on homepage and archives.
- Ads on the single page ( Posts and Pages ).
- Easily disable ads on a per page/post basis.
- Ads Widget.
- Rotate ads.
- Add header and footer scripts.
- Sticky Ads
If you haven’t installed Easy AdSense Ads yet or need help installing it, check the installation guide or watch the video tutorial.
Getting the right ad code from AdSense
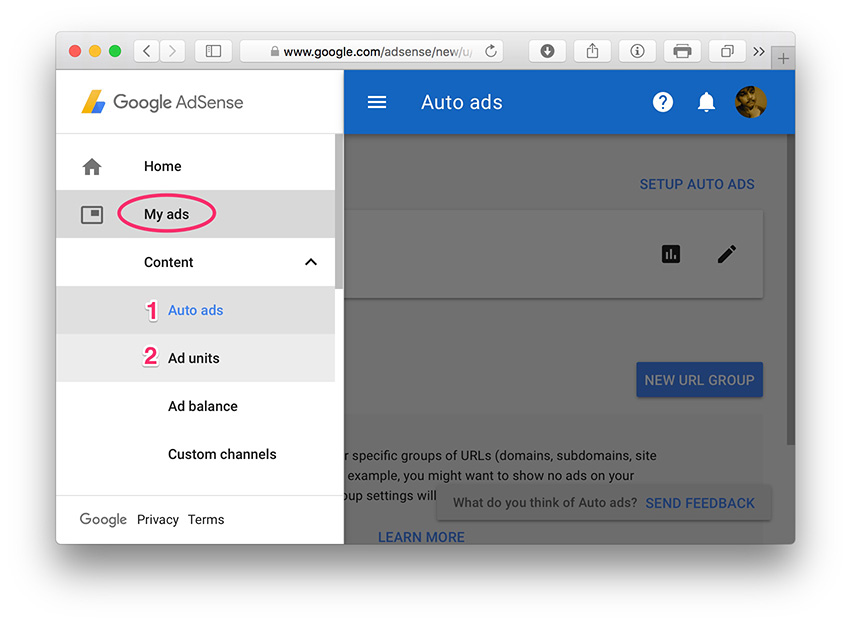
Login to your AdSense account and click on My ads on the left and then on content. There are two types of content ads
- Auto Ads
- Ad Units
Using AdSense Auto Ads
To keep thing simple, we will work with the global settings, the same things can be applied to individual domains.
Click the edit icon on this card.
There are two types of auto ads.
- In-page ads, that apply to both mobiles and desktop.
- Overlay ads, that apply to mobiles.
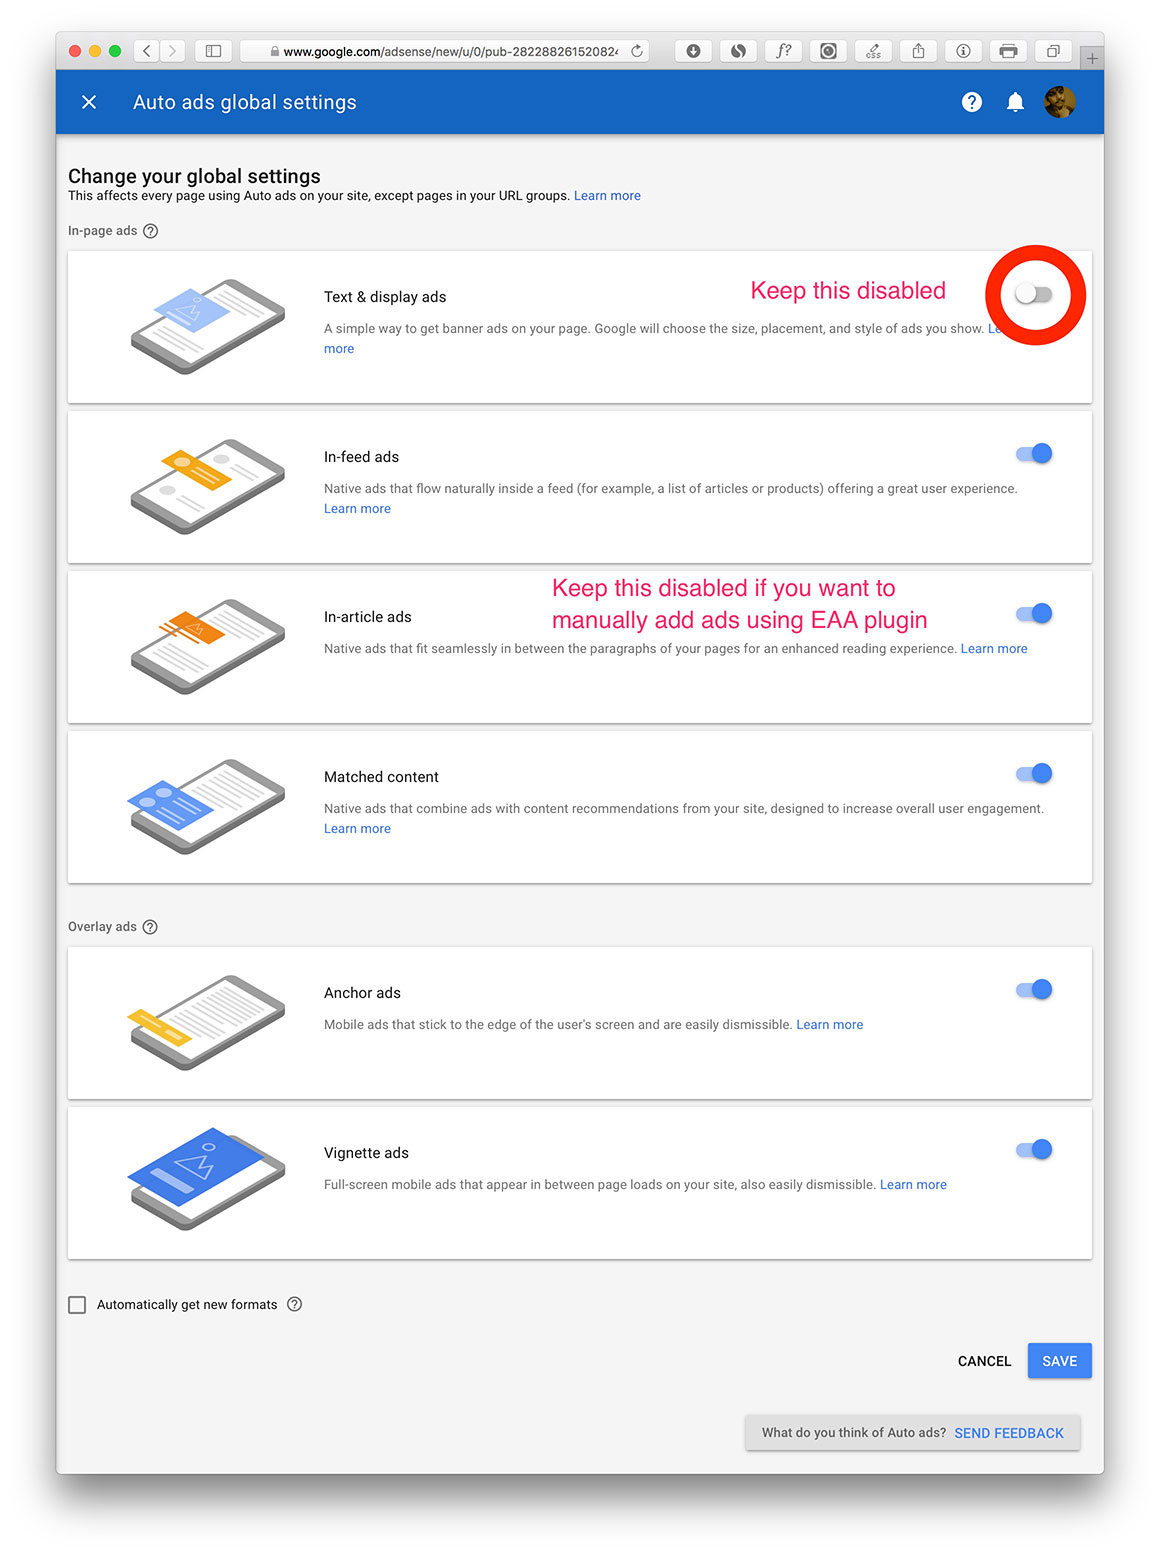
In page Ads
Again there are 4 types of in page ads and two types of overlay ads. (TL;DR, Do not use the auto Text & Display Ads. Other ads are upto you)
1. AdSense Auto text and display ads
These are like the regular Ad units that were there from the start of AdSense, except these are automatically injected for you into different places of the site. We don’t recommend you to enable this type of ads on your site yet because
- These are new and does’t convert well.
- You know your site structure and layout better than AdSense, and EAA gives you the power to ADS almost any where with perfect control.
- Sometime these auto ads will break your site layout or inject ads in awkward position.
2. In Feed ads
These are automatically injected into you homepage and archives. If you get a lot of mobile traffic, you should definitely enable these ads. These ads only work on mobile.
3. In Article Ads
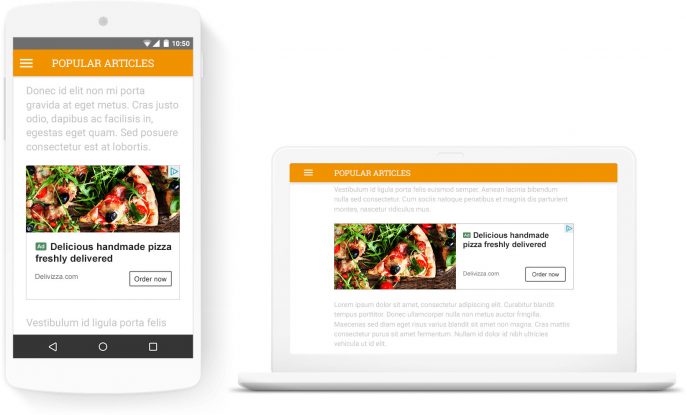
You should enable these ads as well. These appear in the content of your post and work on both desktop and mobile devices.
4. Matched Content Ads
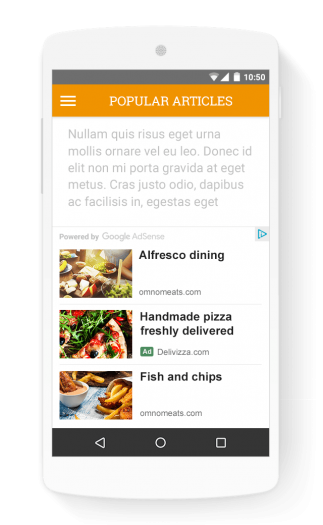 This is a very useful ad. It will combine recommended articles from your site and AD. This will increase the time on your site, reduce bounce rate and generate revenue for you. Enable this with eyes closed.
Overlay AdSense Ads for Mobile
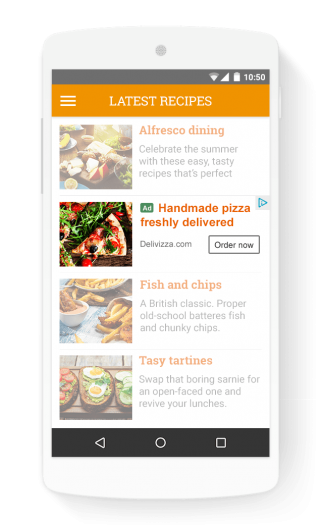
5. Anchor Ads
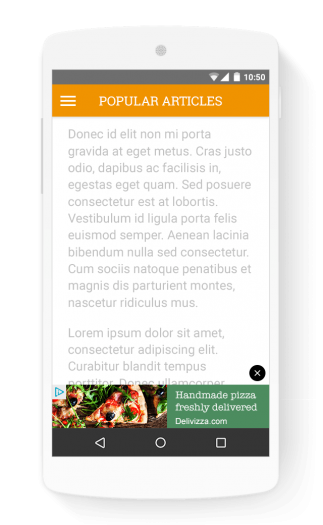
These are the ads you see at the bottom of the screen on most apps and games. These have very good conversion on mobile, you should
6. Vignette ads

Again, you might have seen these on apps and games. You can enable these as well.
How to install/inject/Add auto AdSense Ads in WordPress
The good thing about auto AdSense ads is, you just add the code in one place and the ads appear automatically. Let’s see how we can add the auto Adsense ads code to your WordPress website using easy Adsense ads plugin.
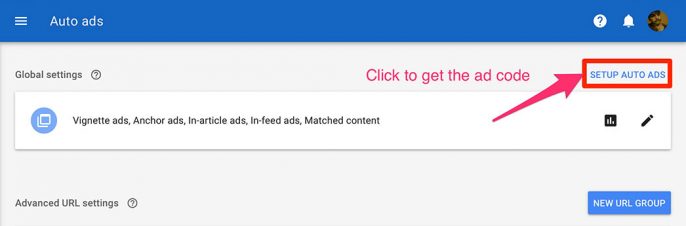
- Click on Auto ads to open up this page and select the ad format you want to enable on your site and click on save.
- Now click on the set-up auto ads to get the ad code.
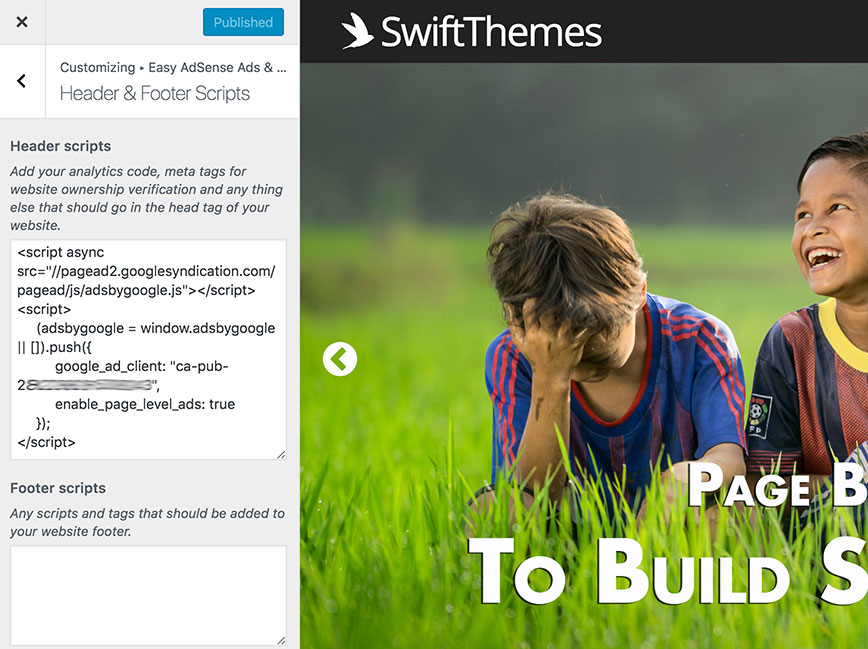
- Copy the ad code and goto to your WordPress dashboard.
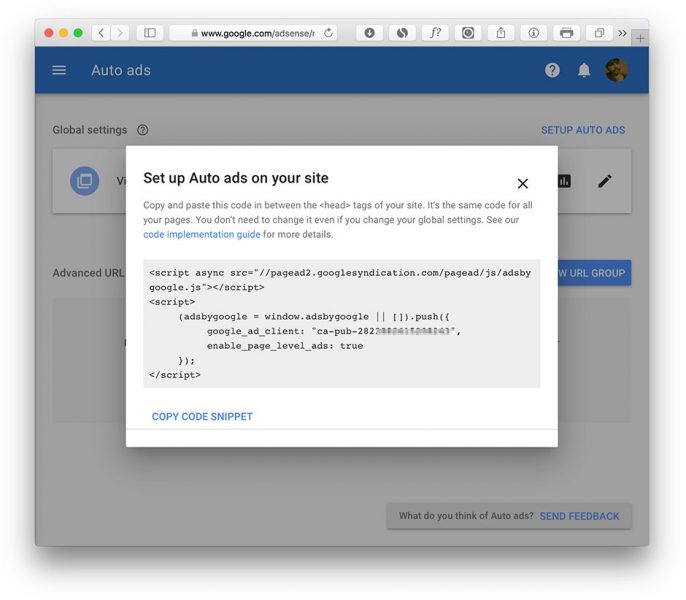
On you WordPress dashboard goto Appearance -> customiser -> Easy AdSense Ads -> Header & Footer Scripts
Regular ads and responsive ads
These are the type of ad units that have been there in Adsense since long. If you have a site with huge traffic, you should spend the time to identify the key ad spots on your site and place the ads there manually.
The best converting AdSense ad positions are
- Below the post title
- After the first paragraph [Use this if you are worried about the ads above the fold hurting your search rankings]
- Linked unit below main navigation [If you have a drop down navigation, be careful, you might be in violation of AdSense policies as such a placement will result in accidental clicks from your users]
- Ad in header
- between post content
- After post content
- Sidebar
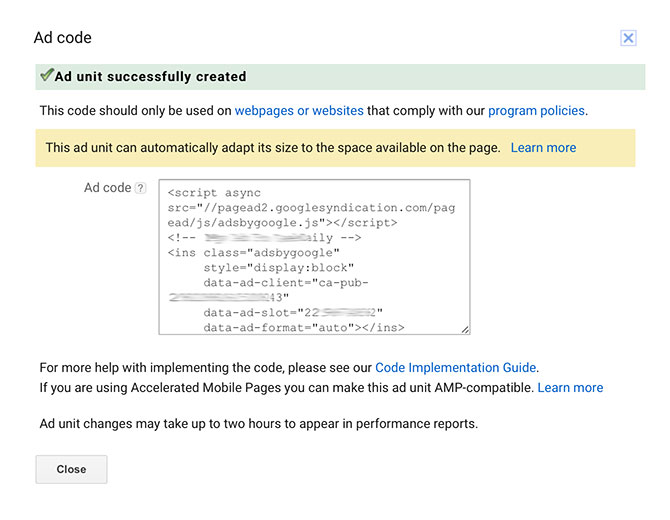
Getting the ad unit code from Adsense
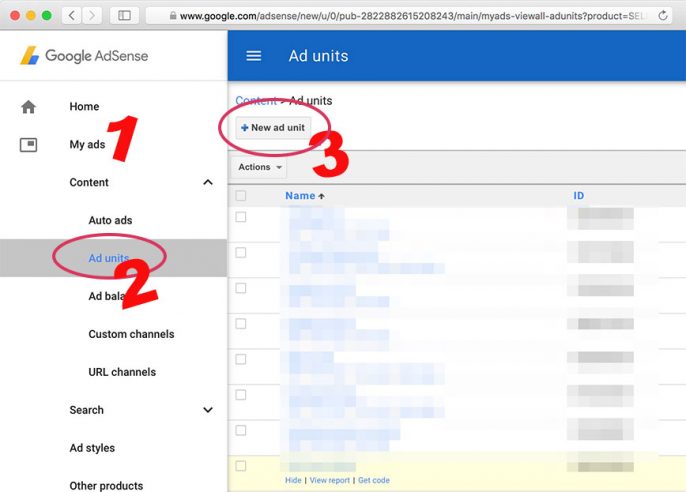
- Login to your Adsense account
- Click on my ads on the right
- Click on ad units below it
- Now on the right pane, click on “+New ad unit”
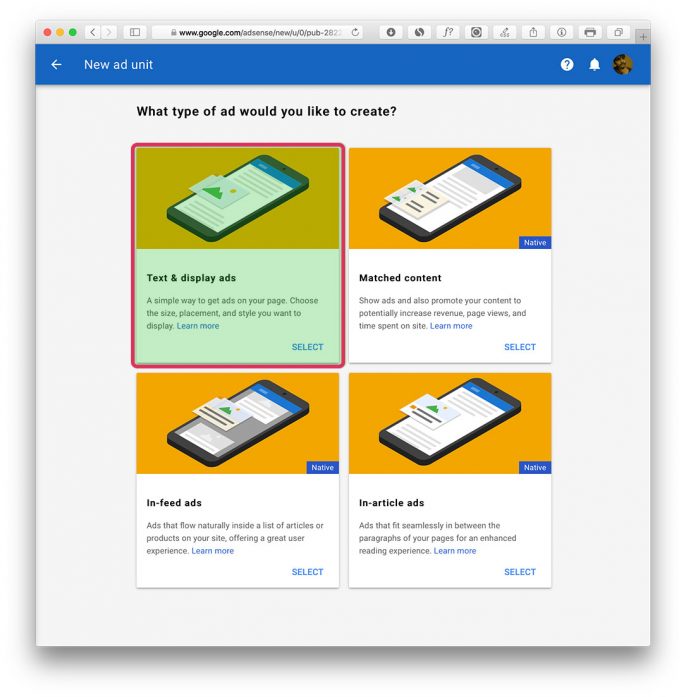
- On the next screen select the Text & Display Ads
- Here you will have 6 things to select, let’s go through them one by one
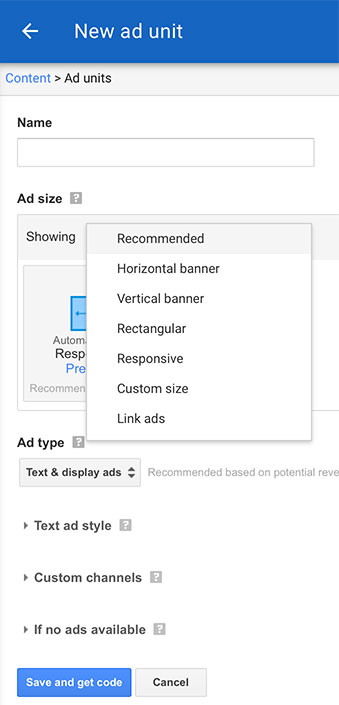
- Name, Give some name which you can understand when you come back an check a year later.
- Ad size, Explore all the types of banners available and choose what works well for your site. If you are unsure, choose the responsive ads units.
- Ad type, set it to text & display ads for maximum fill rate unless you want to choose otherwise for aesthetic reasons.
- Text and ad style, customise your site to match your sites colour scheme. Make the title of the ad match the link colour on your site
- Custom channels, these are a way to track how your ads are performing which locations are converting well. When you create a new channel, there is something called targeting. It is a way to pitch to advertisers what your site is about and what the advertiser can expect from your readers. I usually create one targeted channel per site [or per categories if the site is huge] and explain my target audience, what my readers are interested and their demographics and include them in all the ads. This helps you attract the right advertisers and my ad revenue more than doubled after I used targeting.
- If no ads available, Using this option, you can tell AdSense to serve alternate ads when there are no ads. If you don’t understand what this is, you can safely skip it.
- After you filled all options and customised your ad, click on save and get the code and copy the ad code.
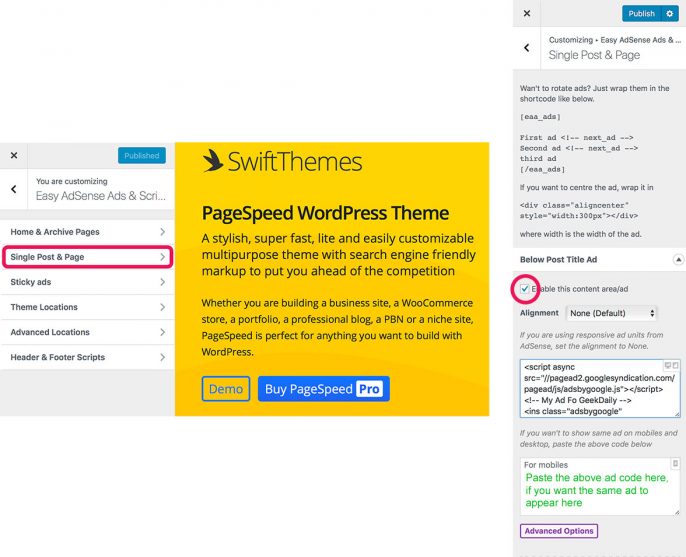
- Now let’s install/inject this ad code below the post title. Goto
Appearance -> customise -> Easy AdSense Ads -> Single post and page - Paste the ad code as shown in the screenshot below. If you want to display the same ad in mobiles as well, paste the same ad code there, or you can get a different ad code and paste here.
- Now visit a single post page and see if the ad is appearing, Sometimes ads don’t appear immediately, give at 15-30 minutes.
Debugging Easy AdSense Ads
Check source to see if ads are injected into the page
Use an HTML widget in the sidebar and see if the ads are displayed.
Switch from auto ads to regular ad units